We have a vegetable garden! I think we built the Fort Knox of raised vegetable beds. We can use these well into our retirement I expect. We used the
10" raised bed corners from Gardener's Supply which are supposed to keep our corners nice and square for many a year. We edged the whole area carefully and laid down pea gravel, which just makes my little meticulous heart go pitter pat. We are starting out
square-foot gardening style as it helps us think about quantity and variety. We have already put in lettuces and leeks, and sowed seeds for carrots, radishes, mesclun, and peas. We planted herbs in one galvanized metal tub, and potatoes in the second. (Um, please excuse the dog poo in the picture. I really should have picked that up prior to taking the picture.)

We also placed a
Mason bee house next to our garden, tucked up under the rose arbor. Haven't seen any bees yet, but we are told if you put up a Mason bee house the bees will find it. (
If you build it, they will come.) Anyone have experience with Mason bees? Anything else we can do to lure them to our garden?

The whole garden is waking up so beautifully. We have violets galore.

Outside the fence and surrounding the gravel driveway, we have the "gnome garden" which Matt tends with great care. There are four little gnomes who live here. They are not particularly industrious gnomes, instead they like to take life easy. They are surrounded by great clumps of hellebore, ferns, and daffodils. We received a White Flower Farm "
Works Daffodil Collection" as a wedding present which was the most wonderful gift. The collection has a lot of variety in shape and color--and the daffs have came up so strong and beautiful. Awesome.

The gnome garden from the other direction. The hammock and all the bird feeders also live here. It's a most peaceful little spot.
The garden has been capturing most of my attention the past couple weeks (how could it not with spring emerging all around me?) but I do have some sewing projects cooking as well. I bought all four of the new
Lisette patterns that Liesl has come out with. SO EXCITING. And I am sewing a new duvet cover for our bed. I am trying to finish the duvet before I allow myself to open the new Lisette patterns. Must. resist. new. sewing. patterns.
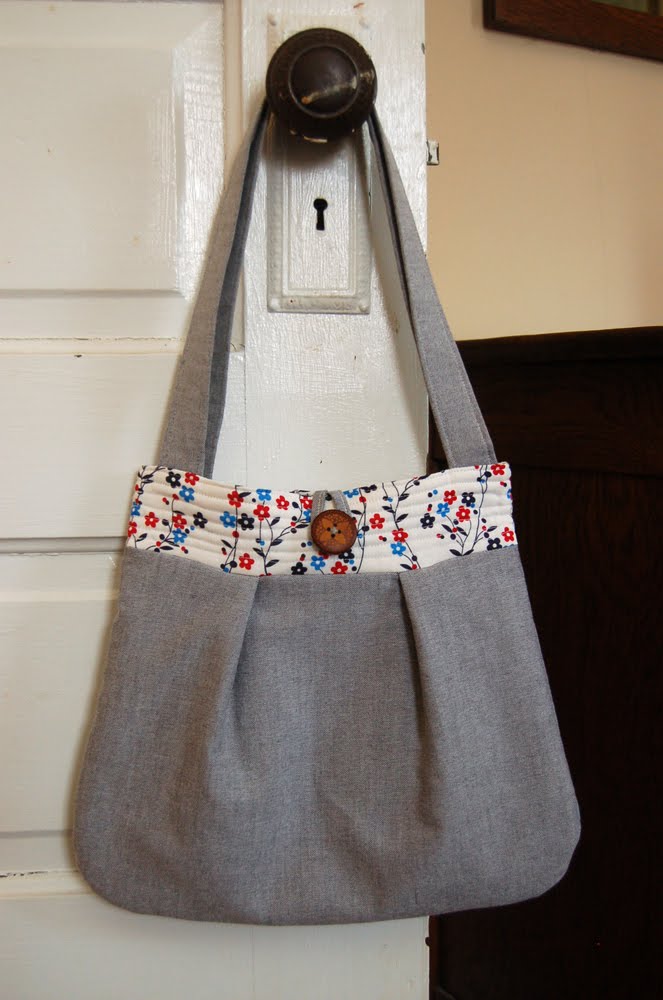
btw, there are still three more
summer handbags in the etsy shop if anyone is interested!

 I finished the duvet cover! It's pieced from a mixture of solid linens and cotton prints from my stash. I had originally intended for the neutral fabrics to be more dominant, but I was not very careful with my math while cutting out pieces, so I ended up with more of the accent colors than I meant to include. That's ok. This duvet is very much inspired by one I saw in Lotta Jansdotter's book, Handmade Living.
 My process was pretty simple. I wanted it to all be very random, so I cut all my fabric into 7" strips, then cut those strips into rectangles of varying sizes. I sewed all my rectangles into one very long strip, which I then cut into the 80" long strips I would need to accommodate my queen-sized duvet. I then cut the strips the long way into varying widths. Then I sewed all my strips back together. I hope that makes sense. I used an old, very soft organic cotton sheet that I scavenged from the linen closet for the back side of the duvet cover.
 You are probably wondering why our bed is in front of a door. Excellent question. We actually have two doors in our bedroom (four if you count the bathroom and closet doors), plus one window in a rather small bedroom. I love our cozy little bedroom but it does make the furniture-arranging a bit tricky. We eventually decided that the bed was best situated as you see above, even though it blocks the door that connects this bedroom to the bedroom next door, which is my craft room. I've been trying to brainstorm an interesting way to hang art on this wall that would integrate the door somewhat and make it appear less odd. If anyone has any ideas, do speak up. :)
 I also recently re-covered the headboard I made several years ago. I had this soft striped linen that has been sitting in my stash for years. I love it when a fabric finally finds its destiny. This linen was obviously waiting patiently for me to realize it would make a perfect headboard.
 Scout seems to like the new set-up. After almost two years of living together, we two humans + two dogs have finally come to a sleeping arrangement that seems to suit all parties. An unspoken rule that no more than two bodies fit in one bed seems understood by both canines and humans. So, when both Matt and I are in the bed, the dogs sleep on their own dogbeds. If, however, they spy an unoccupied side of the bed, they will jump up and snuggle in next to the remaining human. And there really is nothing more peaceful than having a warm, contented dog sighing happily into sleep next to you.
 I wasn't always a dogs-allowed-in-the-bed person, but I am fully converted now. I really do wish they would learn to wipe their own feet when they come in the house though. That would be GREAT.